Pi3 in Atari Case
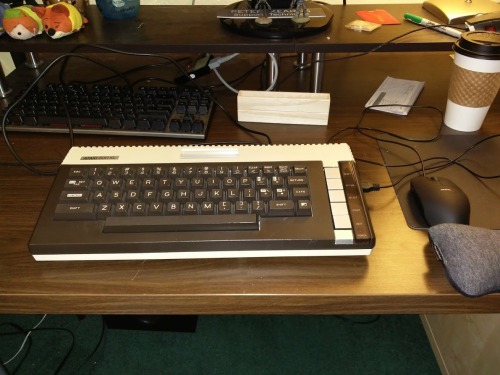
Here is my Raspberry pi 3 build. The goal is to
have a fully functional computer that looks as close to stock
Atari 600xl as possible. The keyboard has to work, and the
joystick ports replaced with USB ports. A while ago I got a
Atari 600 XL from a game store here in Portland. They didn’t
know if it worked. My first thought was to get a power supply
and play around with it, those were hard to find and expensive.
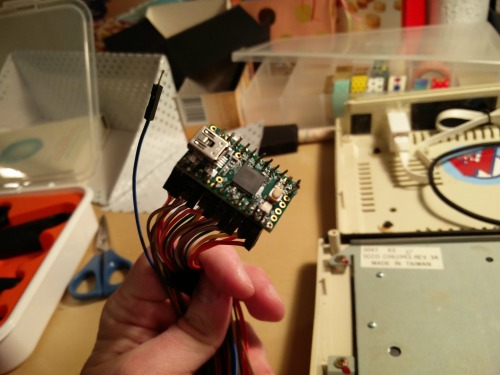
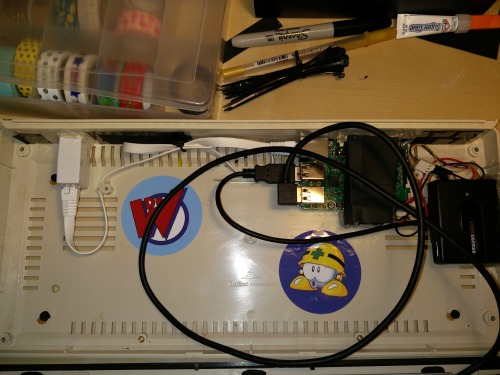
Then i came across a project where a user took the ribbon cable
and connected the keyboard to a Tinsy. Looked fun so I gave it a
try. I should have soldered in pin headers, because I killed the
Tinsy when I was adding the wires. Honestly, I did this while I
was learning to solder. Lucky for me it's just a cheap circuit
board and not something important.
I (much later) found this guy Tynemouth Software:http://blog.tynemouthsoftware.co.uk/
He sells several kits for converting old keyboards into USB
devices. The membrane still works but it should probably be
replaced soon.
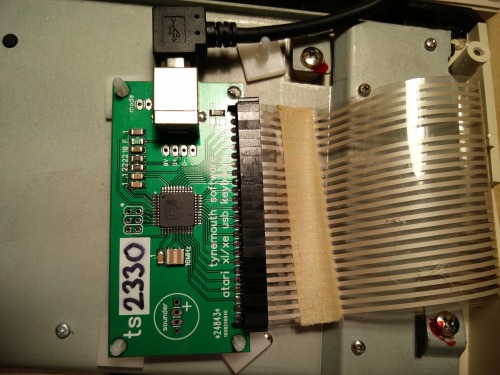
Now the keyboard works as a USB device.

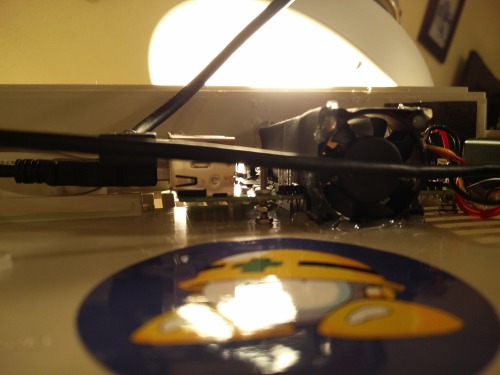
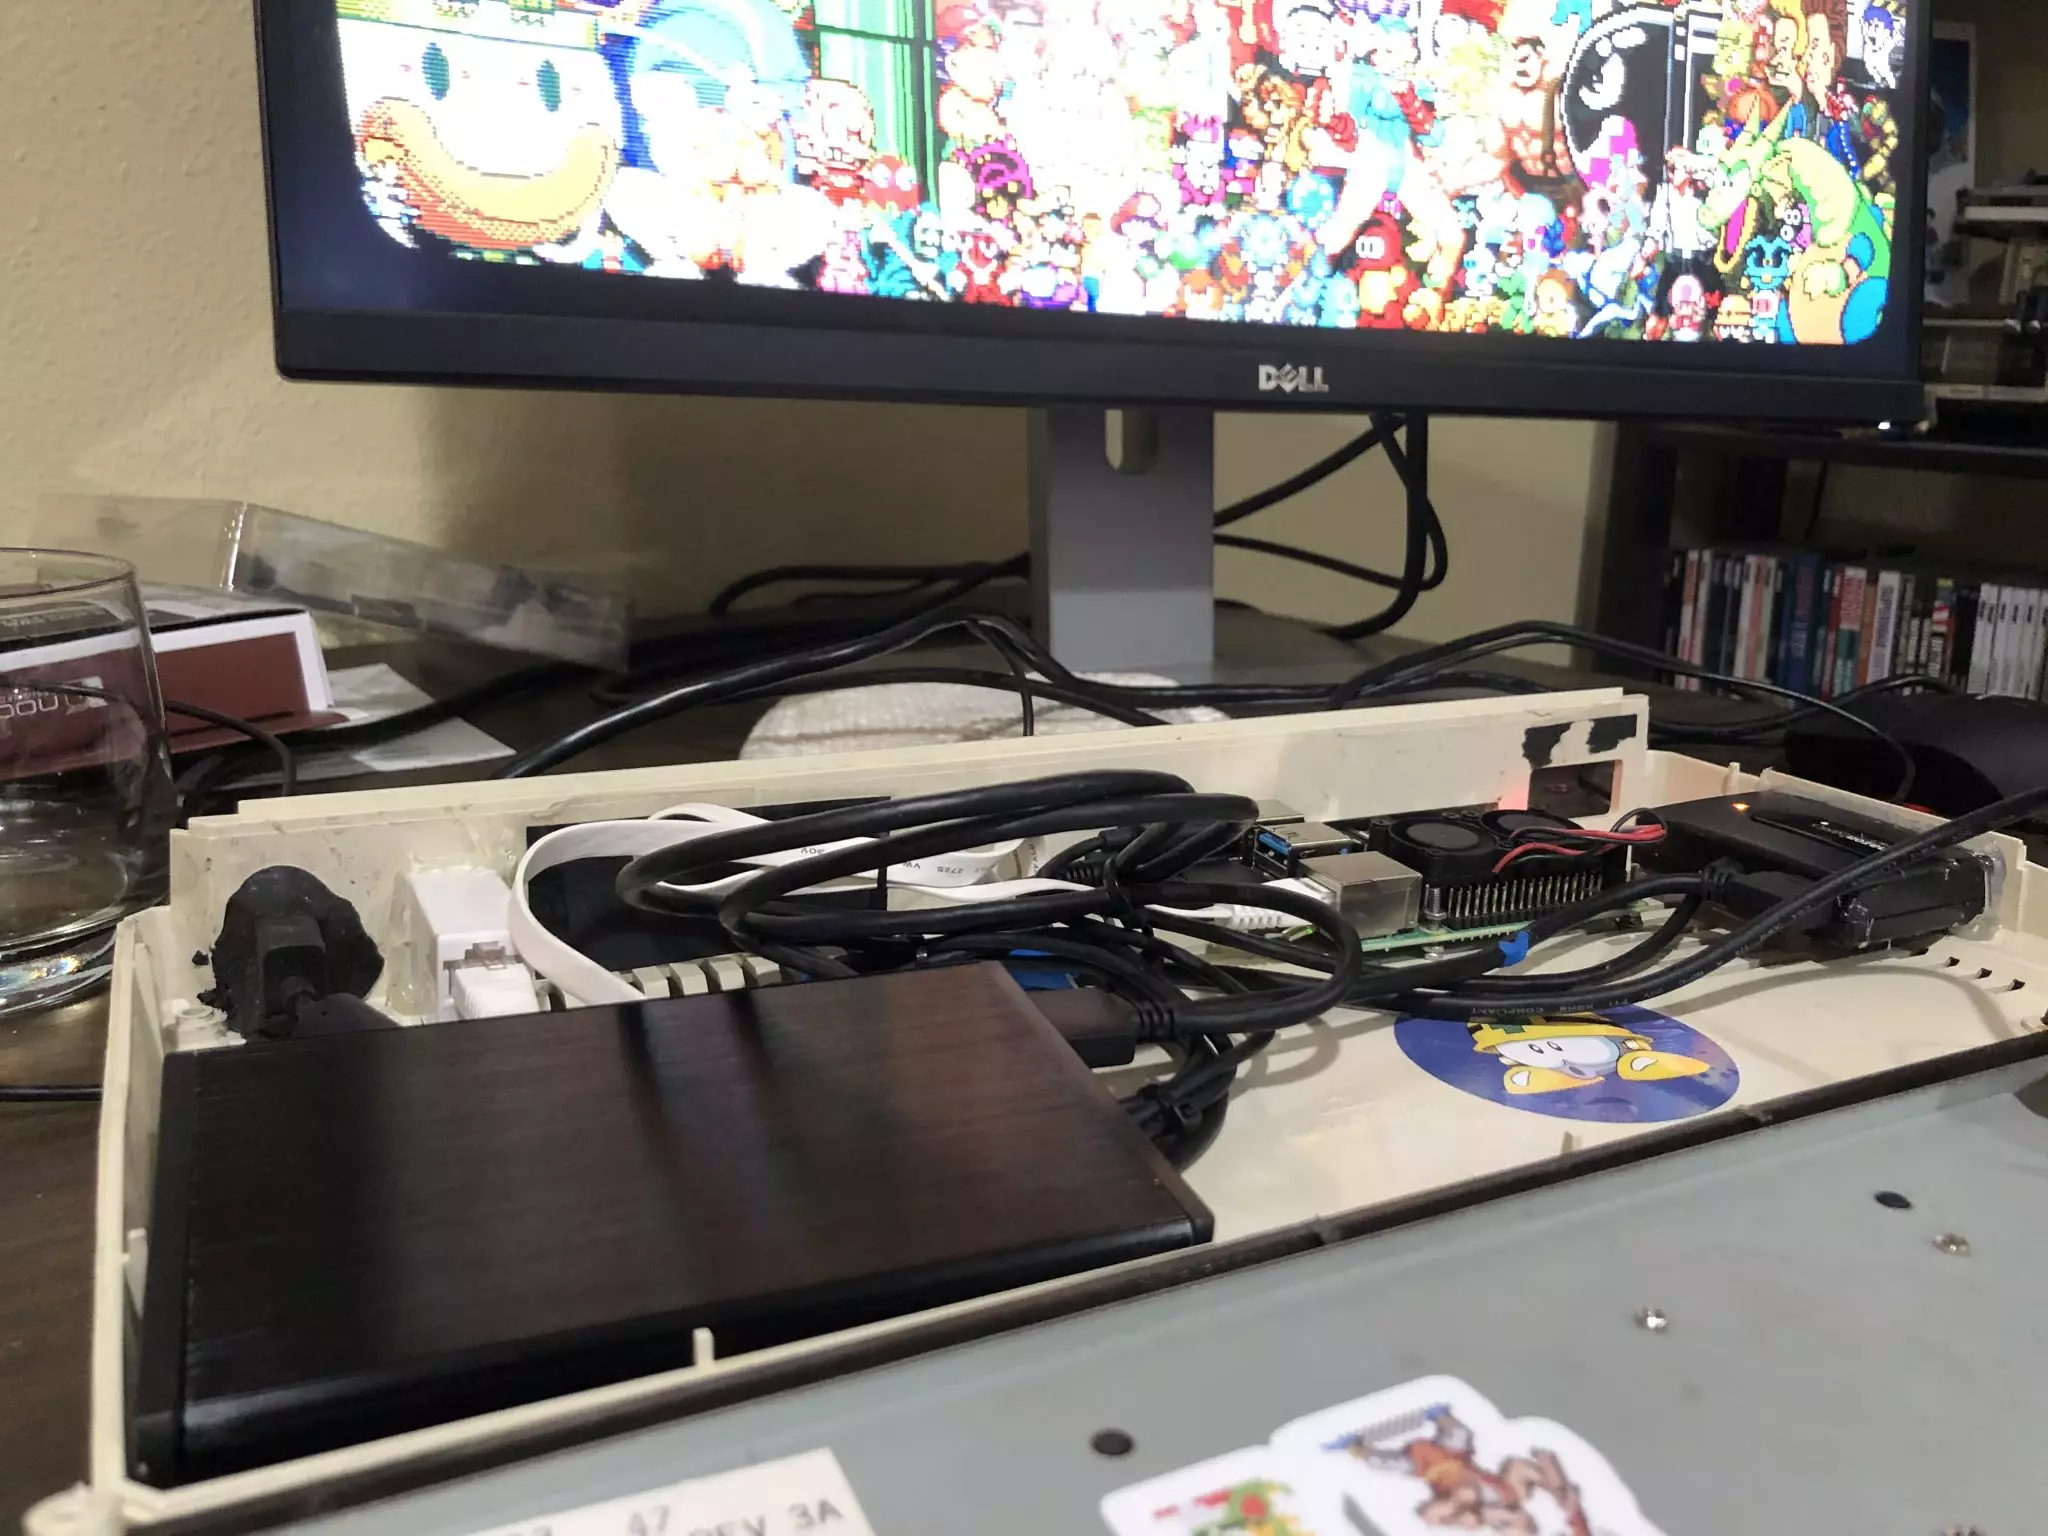
The duct for the fan blowing air over the heat
sink works well. The system ran with a stable over clock at 1400
MHz. Unlike the Pi or Pi 2, the Pi 3 runs all 16-bit era games
at full speed. The Pi 2 would choke on Super FX games and many
PS1 games. The original Pi would choke on man SNES and a few
Genesis games. I did try the Pi Zero, that died on a few 16-bit
era titles too.
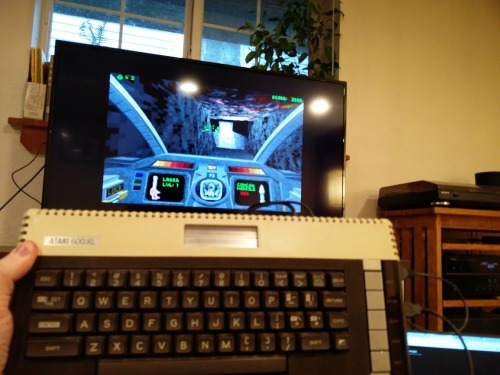
The case is still in it's original condition. If I come across a
new motherboard for the Atari 600xl, I could put it back in and
the machine would be back to stock. I do not want to change the
case in anyway. I want it to look like a stock Atari 8-bit
computer.
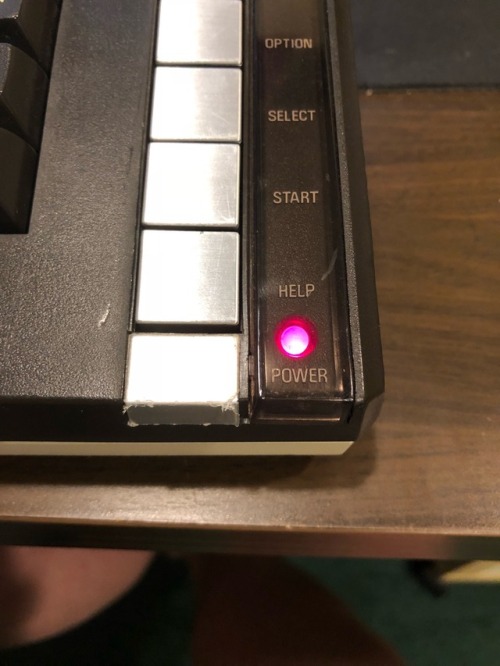
Got the LED to work
Upgrading the Retro Pi
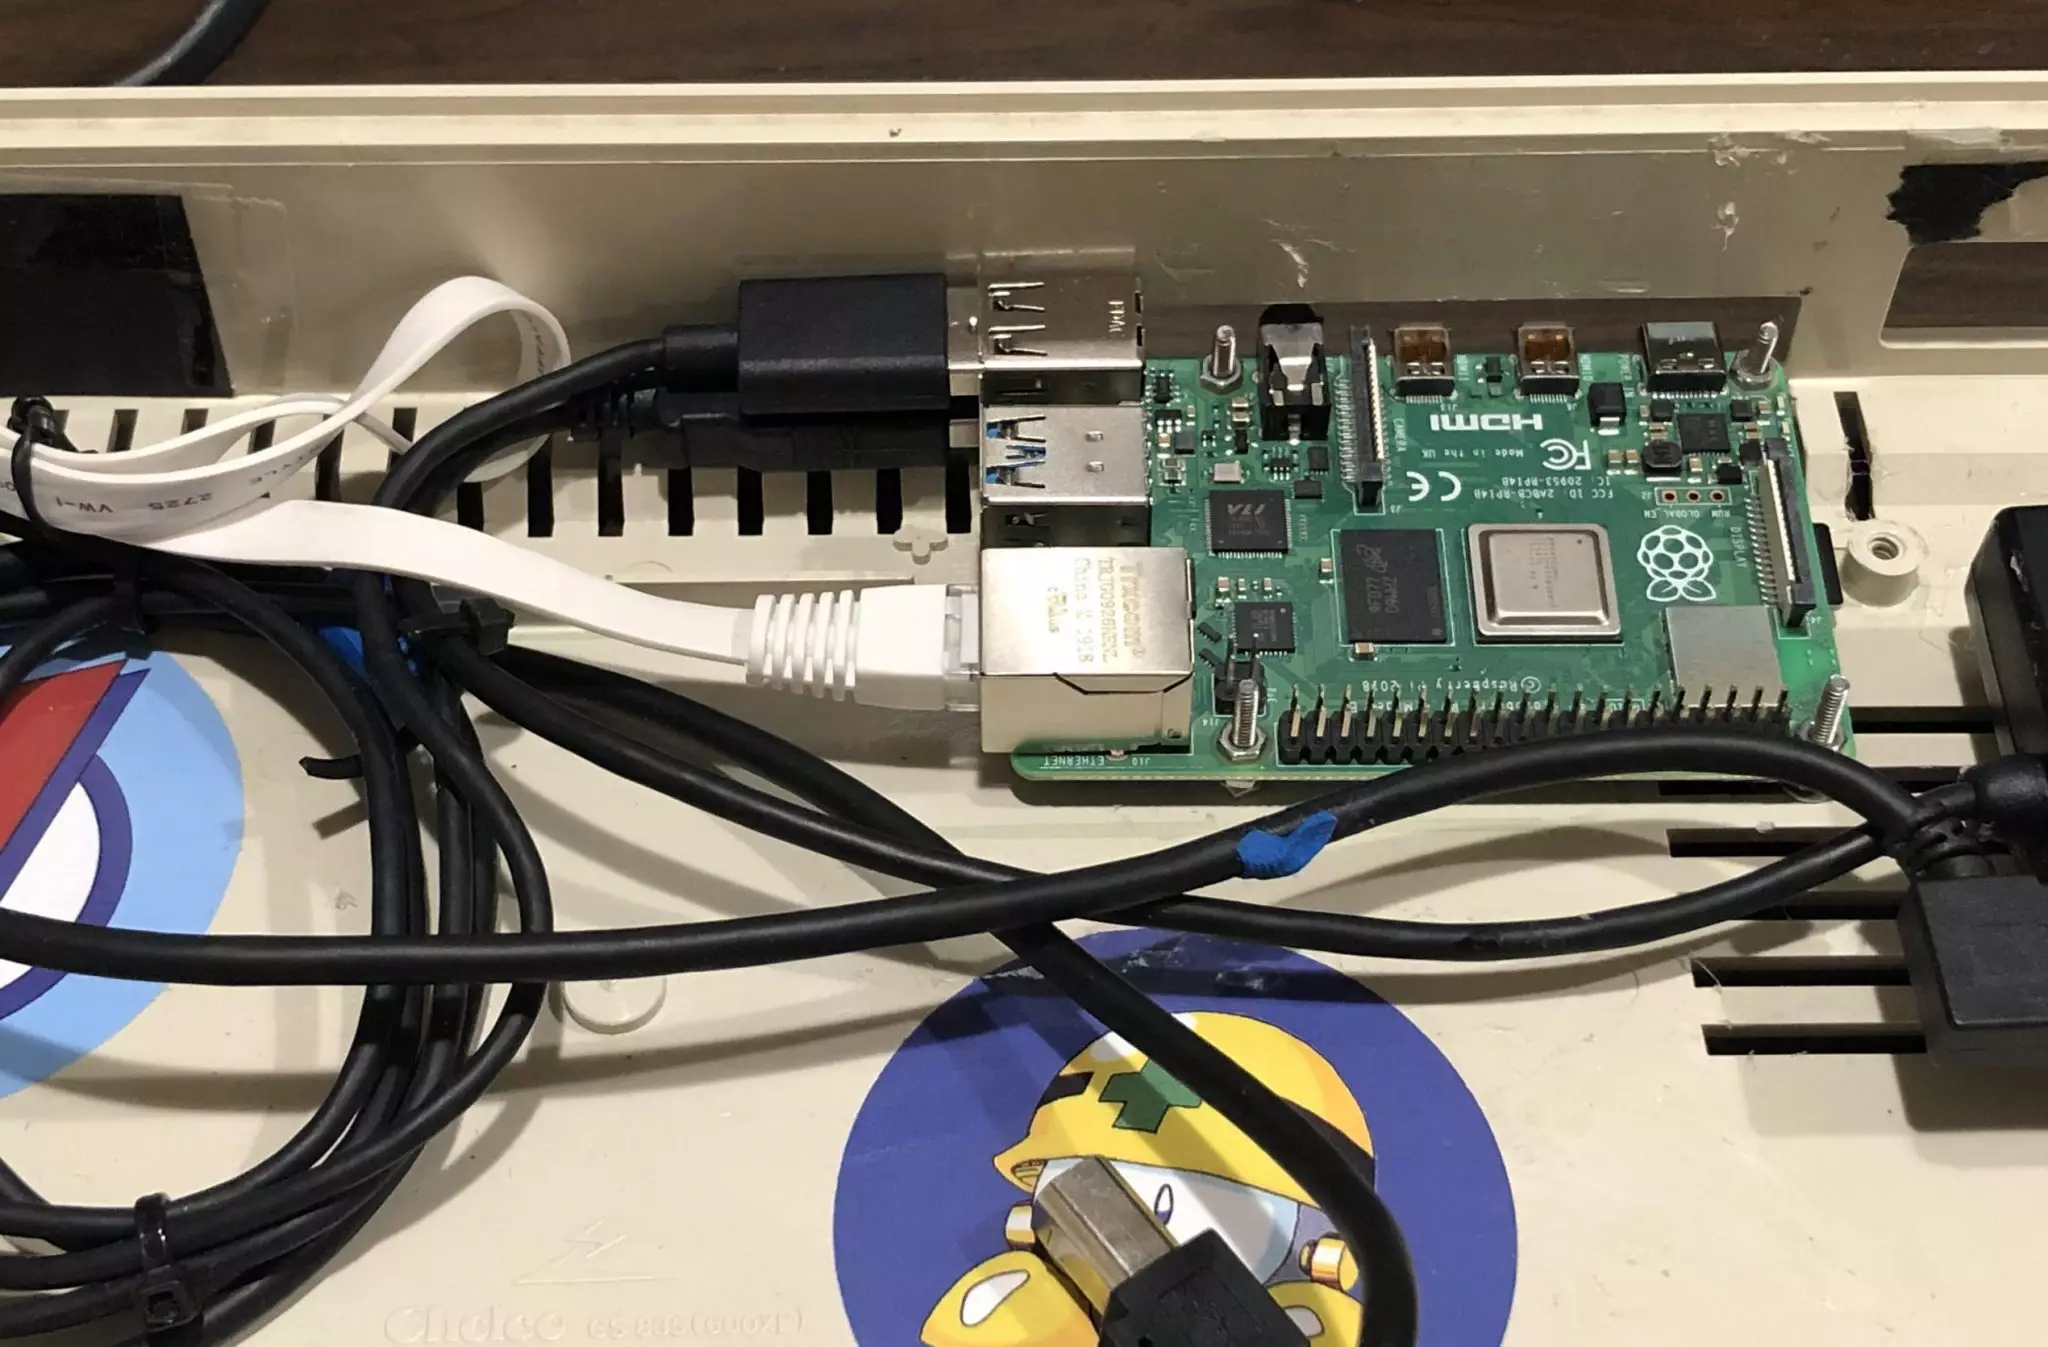
My retro/emulation computer, a Raspberry Pi 3
inside of an ATARI 600XL, was getting a little long in the
tooth these days. The machine is just as fast as it used to
be, but since RetroPie
released update 4.6 that added support to the Raspberry Pi 4,
it was time to update the system. With a 4 core ARM-72 CPU
that can be overclocked to 2.0 GHz the speed increase is quite
significant.
I picked up the 2GB of ram version for $35 plus
shipping and handling (emulation does not require 4 or 8 GB of
Ram… though the 8 GB version was tempting.) I also got a heat
sink/fan combo since these boards run pretty hot now. My old
Pi3 required a heat sink and fan in order to run at stock
speeds inside the ATARI case.
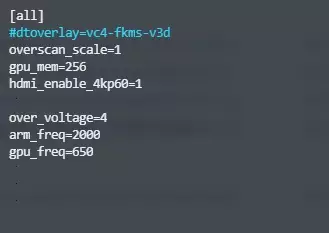
I upped the voltage (set to 4), set the CPU to
2000 MHz, and set the GPU to 650 MHz. I was able to get the
system to be slightly over 2.1 GHz, but a few tests ended in
error, and it was stable at 2.0 GHz. The GPU could do 700+ MHz,
but I never saw an increased in speed with the emulation after
650 MHz. I’m sure it was faster at those speeds, but
I’m looking for stability. Even at a higher clock, N64 and
Dreamcast titles still would have issues, and performed roughly
the same for me at 650 MHz.
The 1 Gigabit network port is fantastic. Copying
over the new roms only took 20 minutes. The Pi 3, when running
DOS box, has issues running games meant for a 486 system, this
new system seems to be able to run DOS-Box games like a 486-DX2
66. I have an old PC, but this upgraded Raspberry Pi is amazing.
For people using a Raspberry pi 2 or 3 for emulation, you should
look to update your system. The new emulation options are
fantastic.
Now to get the 8GB version and see how it would
work in one of those Raspberry Pi based laptop systems.
Adding a SSD to the Retro Pi
Now that the Raspberry Pi 4 offically supports
booting from USB 3, I wanted to add one of my smaller 120 GB
SSDs to the system.
First thing first, I needed to copy my SD card
to the ssd:
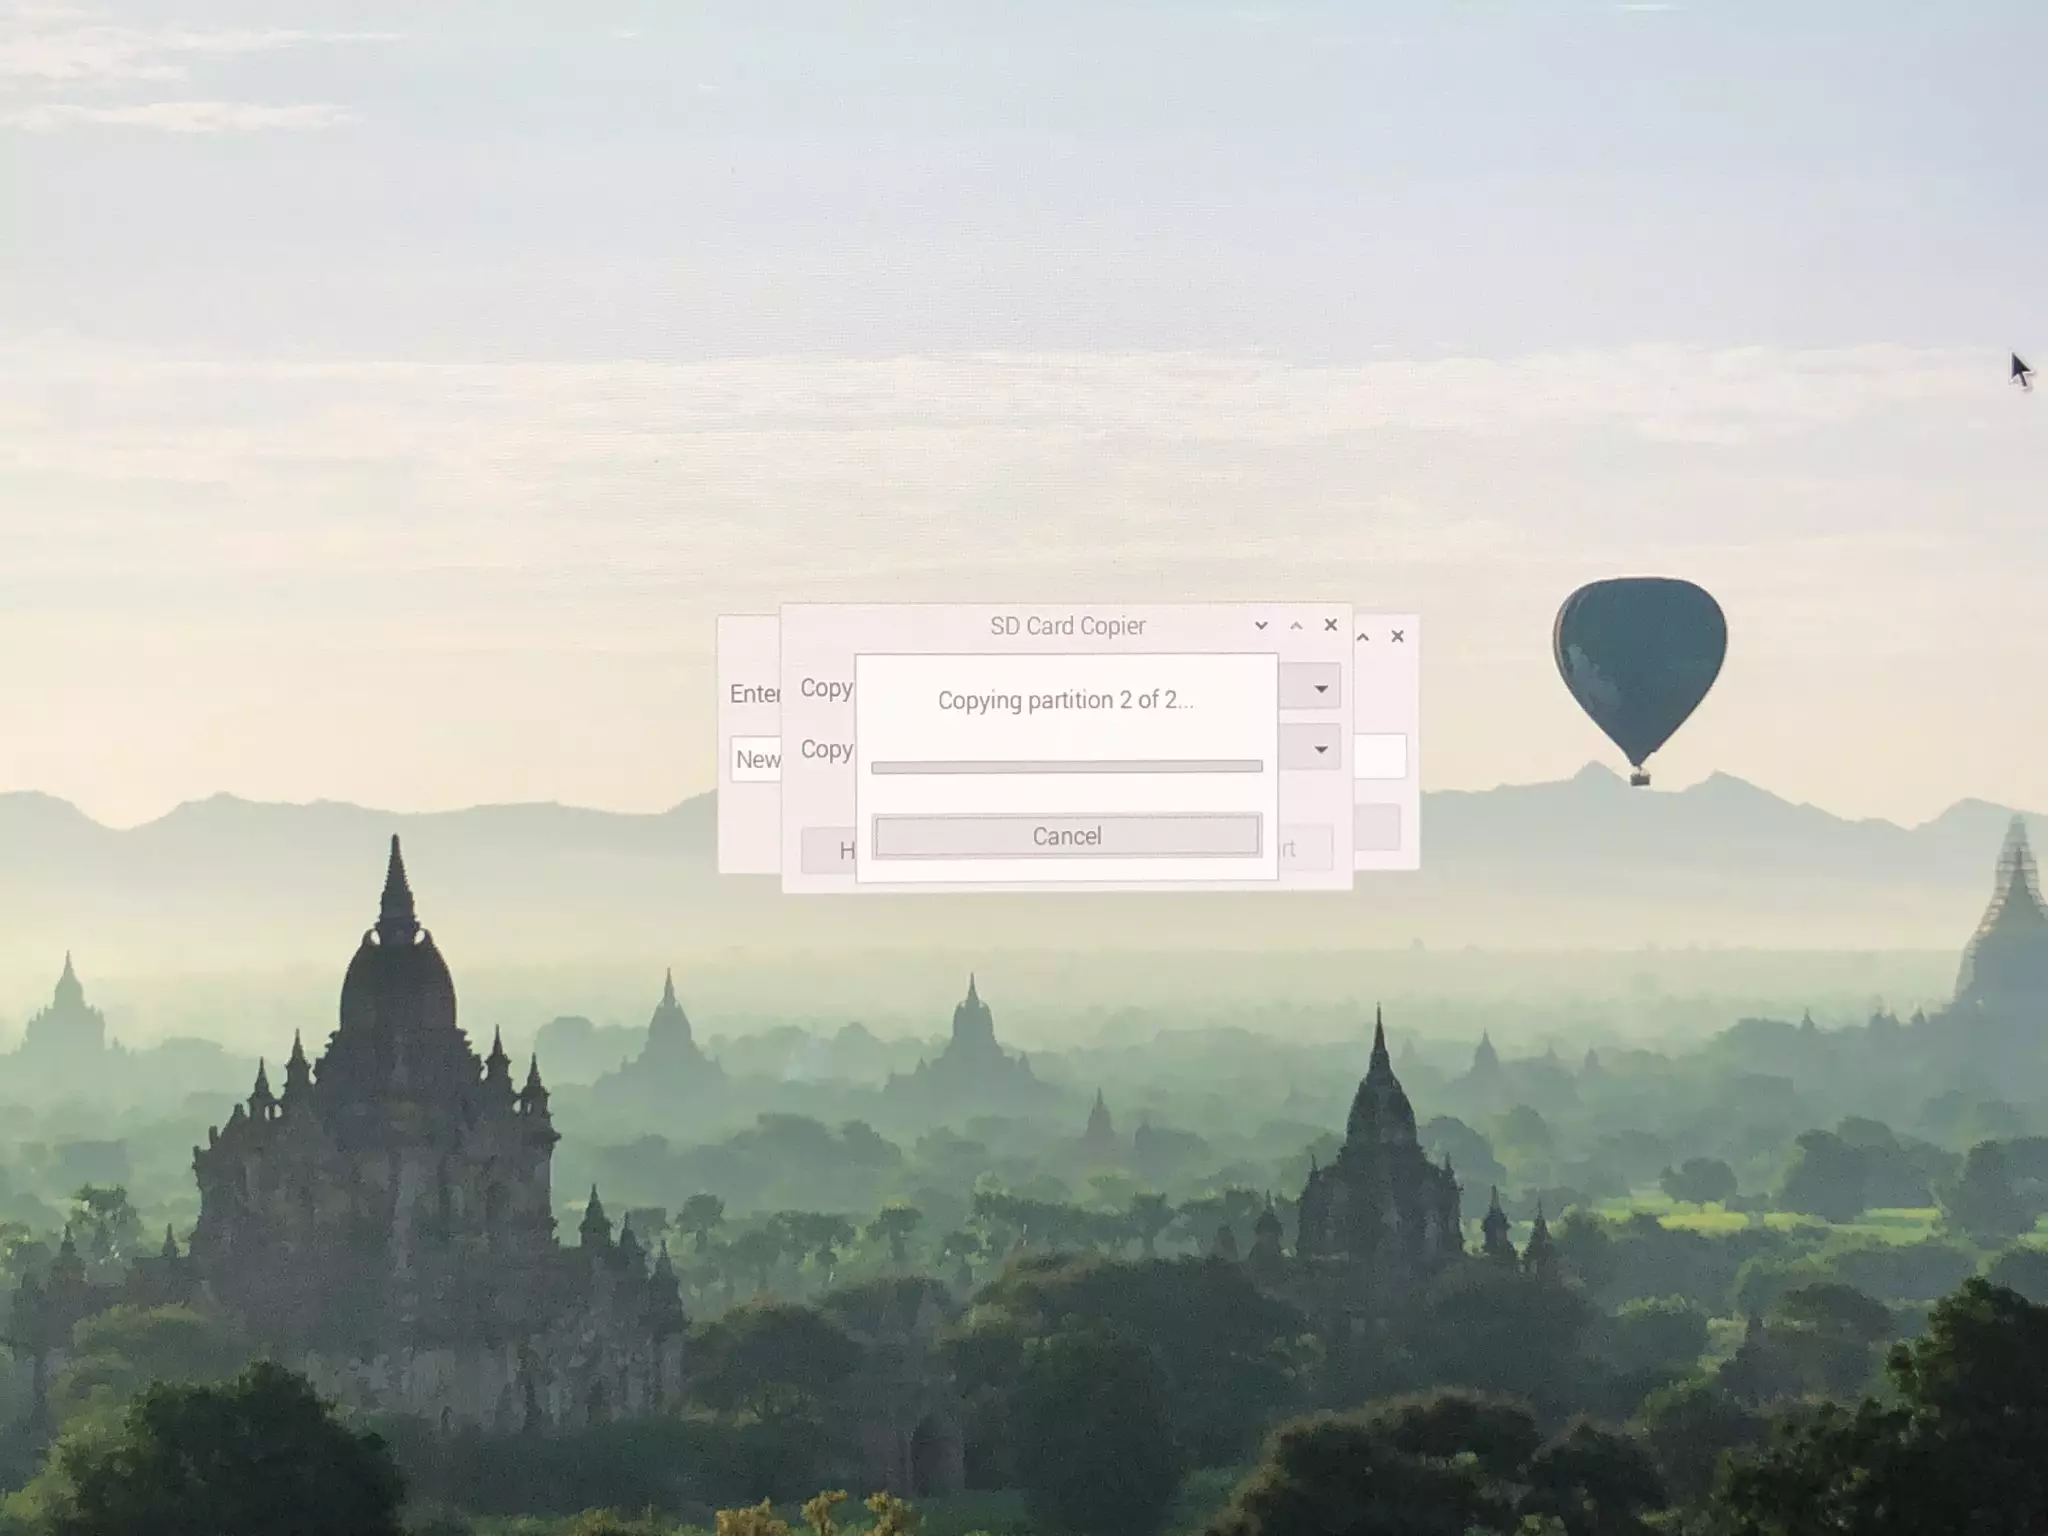
It would boot, but it would not display
anything. Really odd behavior. I could SSH into the system but
still no screen. Turns out my SATA to USB adaptor behaves
weirdly on the Pi (click
here for the thread). I needed to add this line to the
“command.txt” file:
usb-storage.quirks=152d:0578:u
It boots pretty quickly now. Loads ROMs faster
too.